January 2010
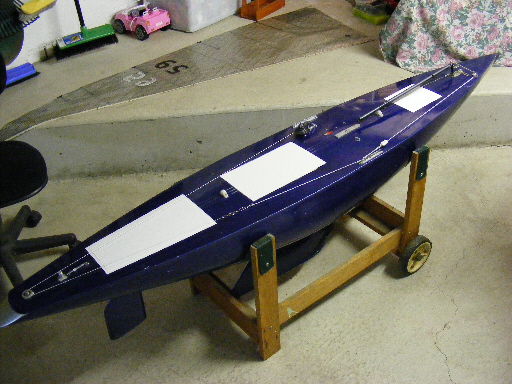
Well here's my latest impulse purchase, a circa 1980's Highlander, A Class Yacht weighing in at a backbreaking 23.4kg's and nearly 2 metres long (it just fits in the car). The design dates back to the 1950's when A Class Yachts were controlled by Vane Steering Systems Mechanisms (pre Radio Control a steering vane was attached to the rudder linkage to keep the boat sailing on a constant course) and were sailed in large ponds or specially built model yachting lakes with hard edges allowing the yachts crew to walk alongside their yacht and change it's course (tacking) using a long pole.
Although the boat was purchased last Novembers it's been almost impossible to do any work on it until January due to work commitments, Christmas and New Year Holdiays. But once the festive season was over my daughter Olivia said c'mon dad how about we start work on the big model yacht in the garage, so one hot afternoon we both started by cleaning the boat, removing the old hatch covers and carrying out a preliminary inspection the hull, rig, winch and electrics.
Over the next few weeks I'll keep a bit of a photo library of the refurbishment to get the boat back into sailing trim (phase 1) followed by a final restoration next winter (phase 2).
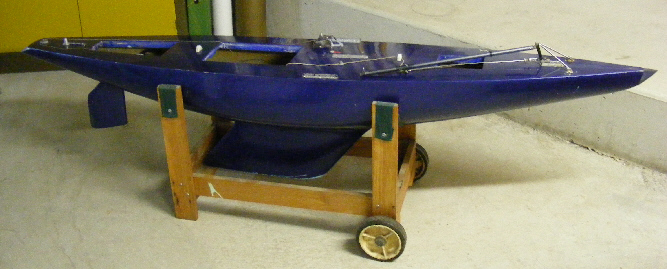
The Highlander in it's transportation trolley.

The mid strip down mayhem as bits of old rigging are removed from the boat, it was at this point that I decided to try and re-use as much of the old rigging and as many of the original fittings for the phase 1 restoration.
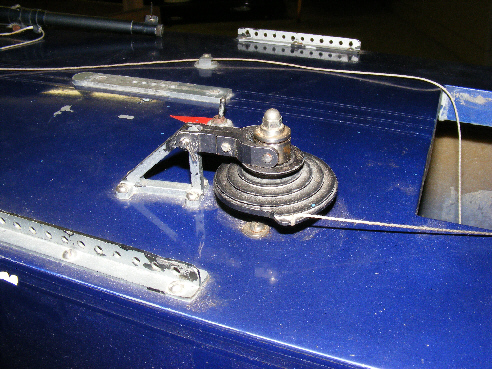
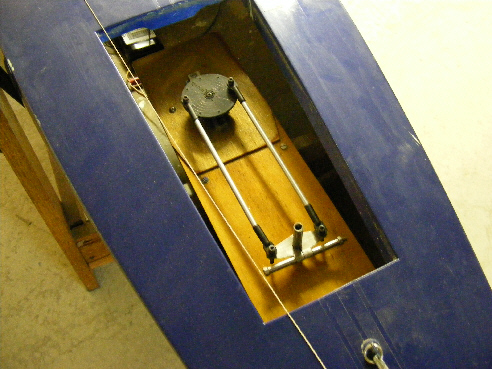
Deck view of the original RMG Winch with Dunshea Spiral Drum fitted. The Winch and Drum exhibited only mild corrosion.
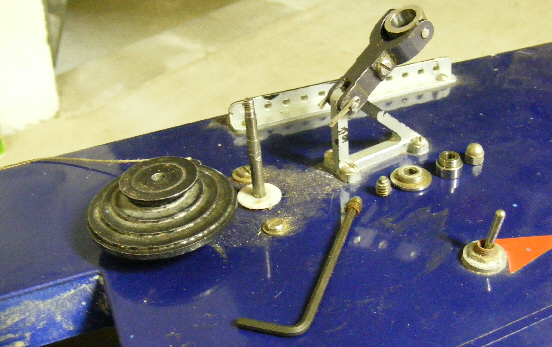
Drum Winch fittings removed for cleaning and lubrication.
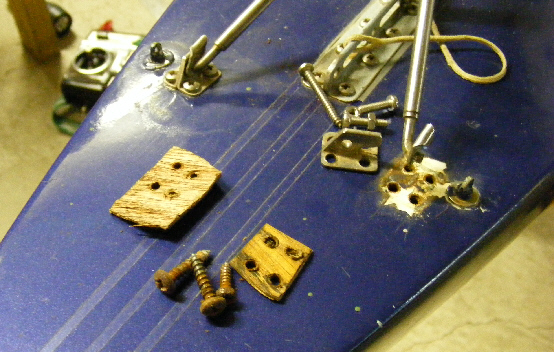
Corroded Radial Jib foredeck fitting attachment screws (rusted self tappers in the lower left of the picture).
The Rudder Servo and associated linkages were all in excellent condition.
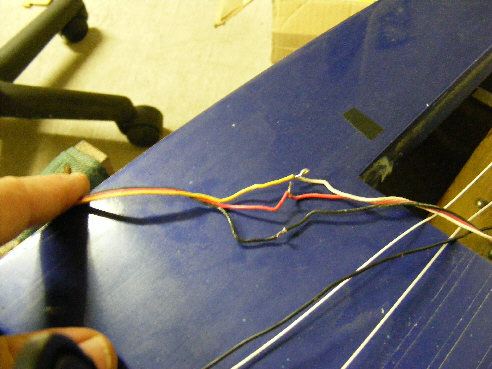
Most of the electrical wiring had only been twisted together, lightly soldered and covered with electricians tape. All these connections were pulled apart and re soldered, covered in heatshrink and placed back into the hull.
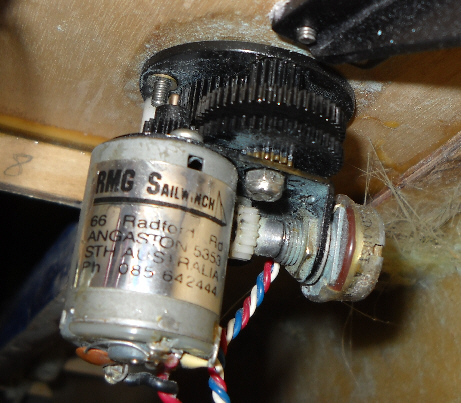
The original RMG Sailwinch in good condition, as viewed from the front.
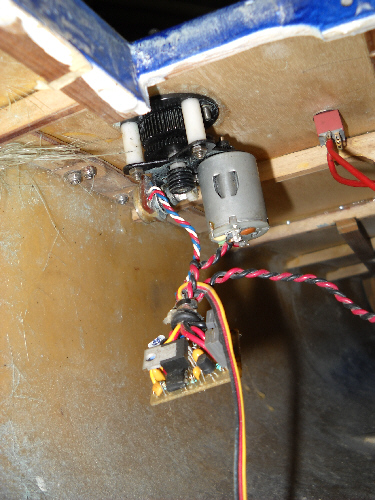
The winch as viewed from the rear, note the electronics board swigning in the breeze. Note to self: make sure I piut a cover over the electronics board.
New deck hatches fitted along with new winch running rigging along with bungee cord tensioner for the winch line.
Rigging up on the garage floor was akin to rigging a small sailing dinghy, mast up the attach the sails and then run the sheeting system.
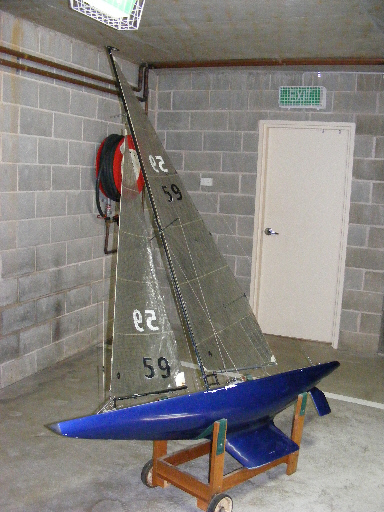
Fully rigged up in the garage. It was to tall for this area hence I had to lie it in its cradle at an angle. Phase 1 refurbishment complete, next stop the harbour with more pic's to follow.